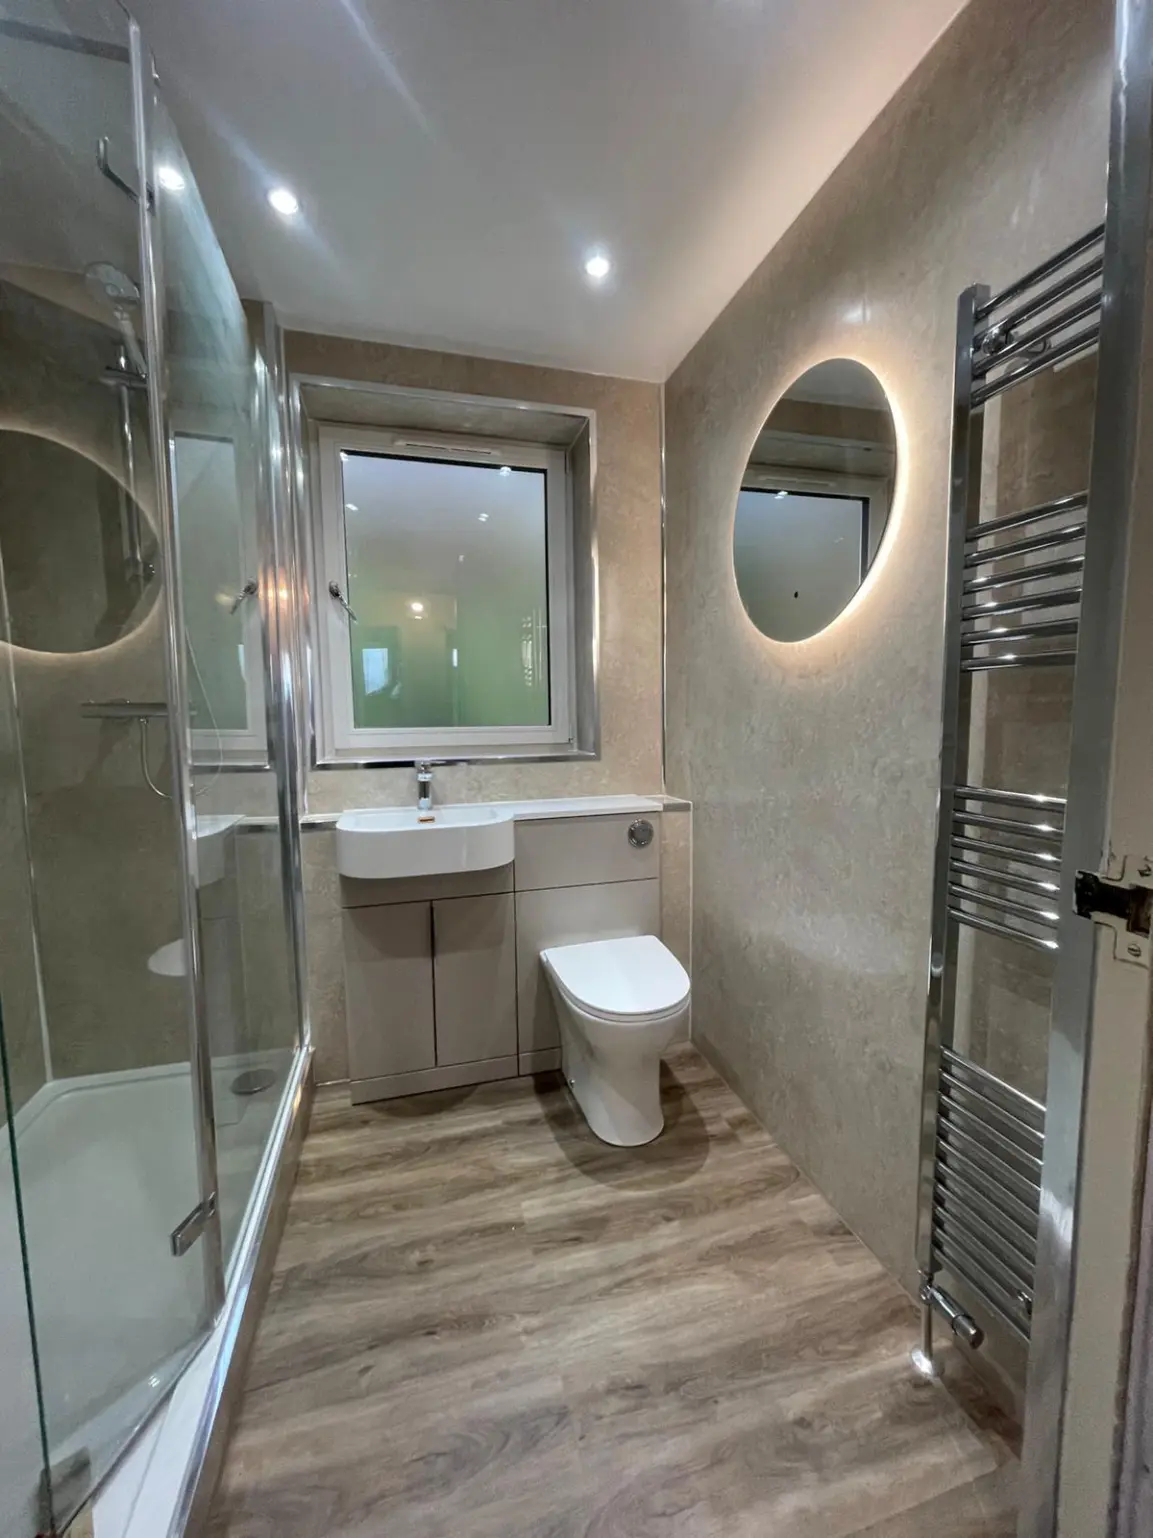
Start by noting where the moisture appears and when it becomes worse. Photographs taken over time can help the person investigating it. Tell them about recent leaks, plumbing changes or damage in neighbouring rooms. If water is near electrical equipment, keep clear and seek appropriate urgent help rather than trying to inspect or dry the equipment yourself.
Check When and Where the Damp Appears
A mark that appears after the shower is used may point towards a shower seal, waste or supply connection, but it still needs inspection. A patch near a window may be condensation or water entering around the opening. The location is useful evidence, not a reliable diagnosis on its own.
Avoid covering the affected area before the cause has been found. A new panel can hide continuing damage and make later inspection harder. In a flat, water may travel before becoming visible, so the source may not sit directly above the stain. Tell a neighbour or factor promptly if their property or a shared part of the building could be involved.
Understand Condensation
Condensation happens when moisture in the air meets a surface cold enough for water to collect. Bathrooms create moisture during bathing and showering, so extraction, airflow and heating all matter. A mirror steaming up during a shower does not by itself prove that the room has a building defect, but persistent damp and recurring mould should not be dismissed.
The Scottish Government's guidance on reducing damp and mould describes practical steps such as using extractors and keeping ventilation openings clear. Those measures support a suitable room; they do not remove a landlord's repair responsibilities or replace investigation of leaks and building faults. If you rent, report the problem and keep a record of the response.
Check the Extractor and Its Route
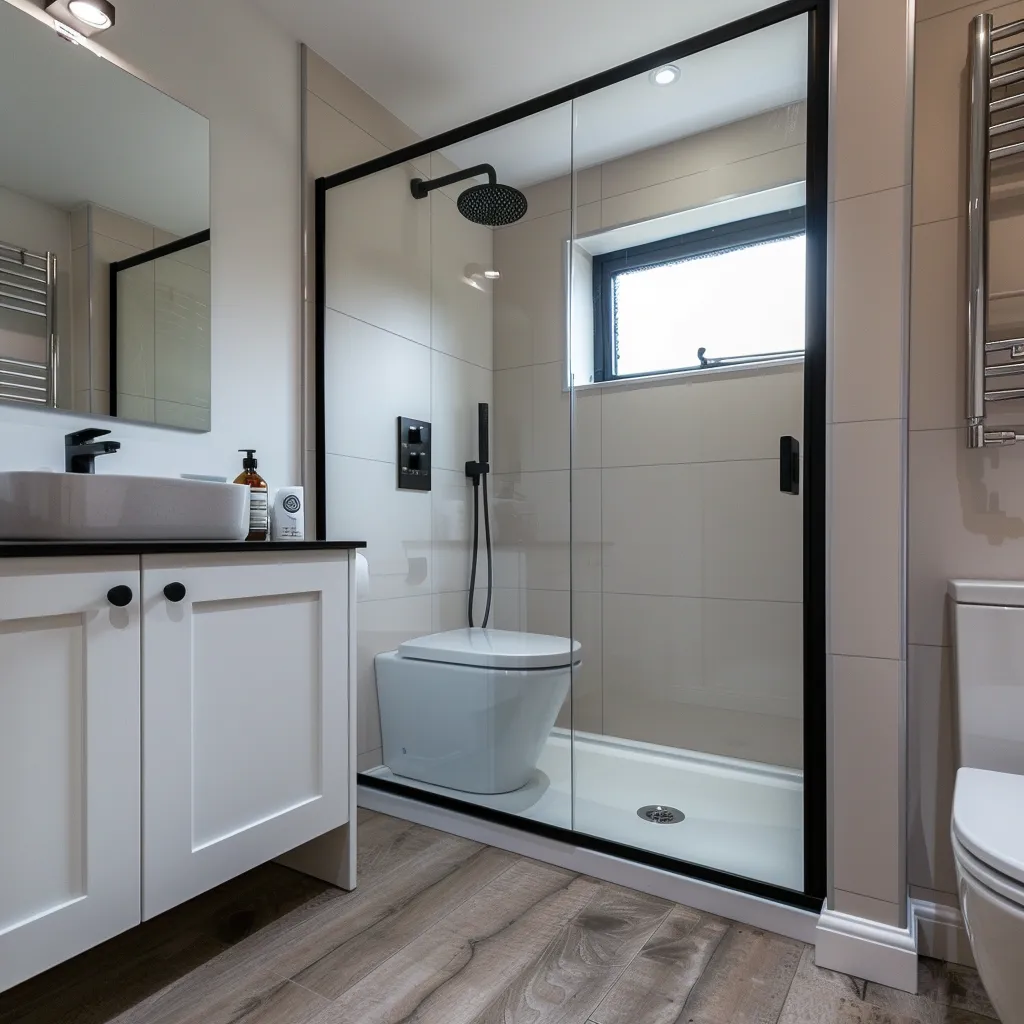
An extractor needs to move moist air to a suitable outlet. A noisy fan is not proof that it is doing that effectively. The duct route, condition and outside terminal can affect performance, and the room needs an appropriate path for replacement air. Have the arrangement checked if moisture remains for long periods after ordinary use.
Keep accessible covers clean in line with the product instructions, but leave electrical repair and changes to a competent person. Do not vent moist air into a roof space or another hidden part of the building. When refitting, plan ventilation before finishing the walls and ceiling, while the required route and connections can still be arranged properly.
Repair Leaks and Damaged Surfaces First
A leak can affect the floor or wall beneath a finish that still looks sound. Soft flooring, movement, staining or repeated seal failure may justify a closer inspection. Replacing a bead of silicone without checking why it failed can leave the underlying problem in place.
The repair plan should identify where the water is coming from and which parts of the room need repairing. Give affected areas the appropriate time and conditions to dry before new finishes are fitted. Our bathroom renovation service can quote for a refit, with any additional repair work explained when it is identified. Wall panels and new flooring should follow suitable preparation, not be sold as a way to cover a damp problem.
Choose Finishes You Can Look After
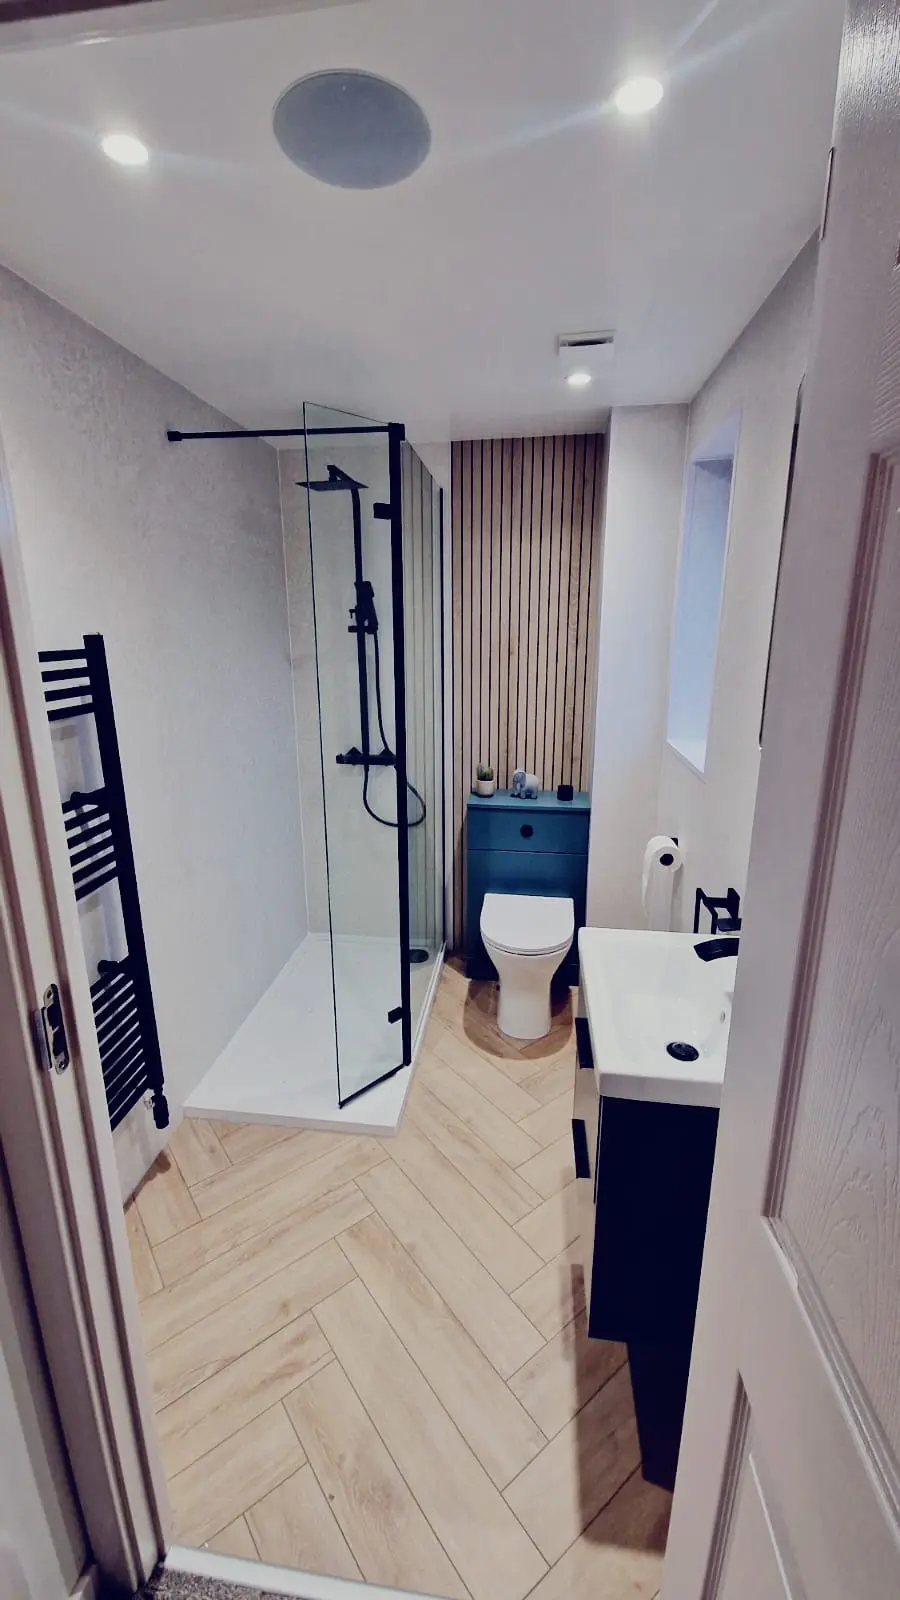
Wet wall panels remove many grout lines, but their joints, corners and edges still need correct fitting and care. Tiles also depend on a suitable background and waterproofing where required. Neither finish makes the whole room immune to leaks or condensation. Products must be installed as a compatible system rather than mixed without checking instructions.
After fitting, follow the care guidance for screens, sealants, panels and flooring. Keep water from standing where the product is not designed for it, and report a new leak early. Our comparison of wet wall panels and tiles explains the everyday differences. Easier cleaning is useful, but it should not be confused with a finish that never needs maintenance.
Plan the Refit Around the Repair
Before accepting a renovation quote, ask what is known about the damp and what remains to be investigated. Identify which repairs are included, which may need another specialist and how any additional cost will be agreed. A fixed-looking total does not make an unknown problem disappear.
Keep a record of the findings and the work done, especially if a shared pipe or neighbouring flat was affected. Read our tenement leak and insurance guide for questions about neighbours and insurance and the renovation checklist for planning the bathroom afterwards. The useful order is to find the cause, complete the necessary repair and then fit the new room onto suitable surfaces.